Spectrophotometric Standard Stars
- The acquisition script slews the telescope, positions the guide probe, configures the instrument for imaging and takes the slit and field images needed to center the target in the slit. The script then pauses while the observer runs modsAlign to compute and sent the offset needed to align the target in the slit. The observer resumes the script and a thru-slit confirmatory image is taken.
- The observation script moves the grating or prism in the beam and takes the series of spectroscopic exposures.
Acquisition
Monocular
If you are using just one MODS, then, in a terminal window, run the monocular command, acqMODS:
acqBinoMODS will launch 2 terminal windows, one for each MODS, and, as each script command is sent and executed, output will be written to the terminal window and and changes will appear on the Dashboard of the MODS GUI.
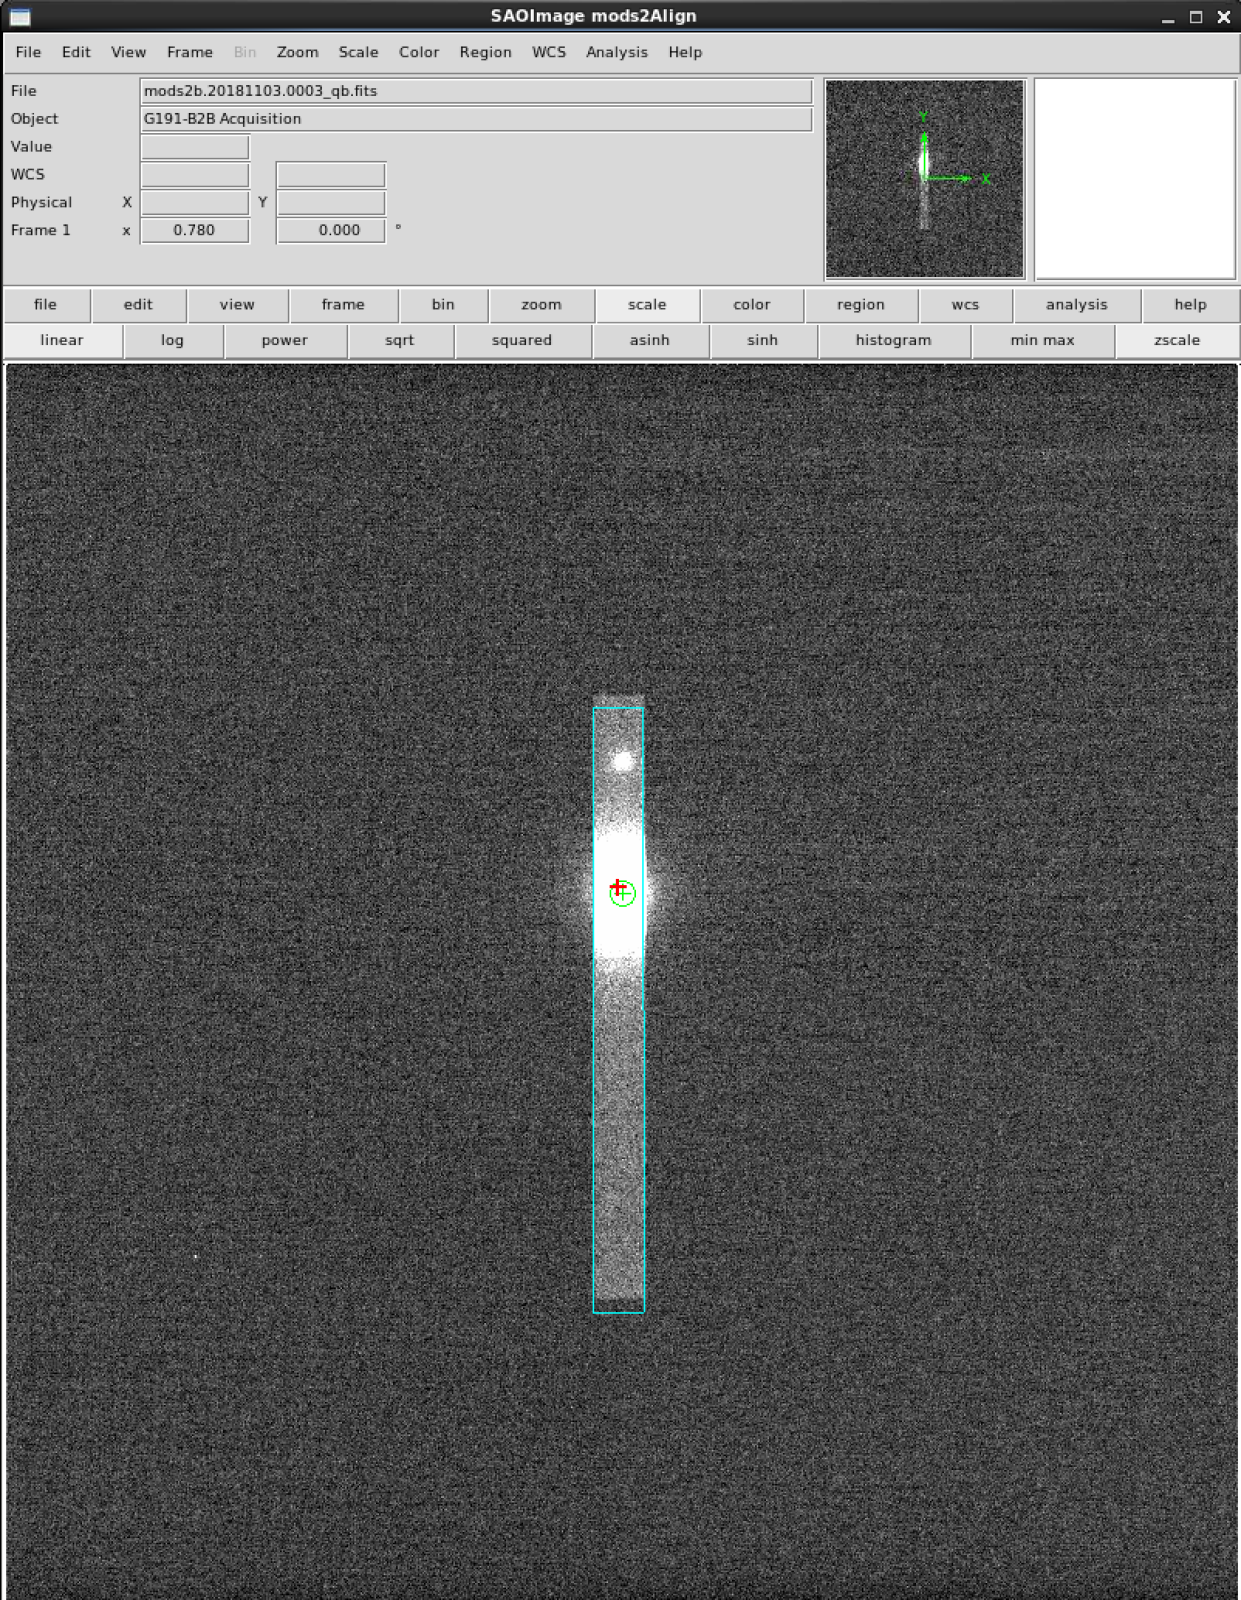
Unlike long-slit or MOS acquisition scripts, the spectrophotometric standard star acquisition script will only take a field image. It will pause after this image has been taken. At this point, the observer needs to run modsAlign.
From a separate terminal window, type (note that you can copy/paste the image filenames from the modsDisp or mods2Disp log into the modsAlign command line):
Measuring the target centroid
On the field image, position the blinking cursor over the target and click “a” to measure the centroid. If the star is saturated so much that the centroid may not be reliable, then position the cursor carefully over what looks like the center and click “x”. You may type “a” and “x” repeatedly; the last measurement is the one that will be used. When satisfied, click “q” to quit.
Sending the offset
The offset that is required to center the target at the reference position for the 5″ wide slit will be computed as a DETXY relative offset and displayed to the terminal with the query to send it or not (Y/N). The observer must type “y” or “Y” (otherwise nothing will be sent!) after which modsAlign will send the command:
Taking the confirmatory thru-slit image
Observation
Monocular
If you are using just one MODS, then, in a terminal window, run the monocular command, execMODS:
Binocular
Taking a few more exposures
- directly from the MODS User Interface, by clicking “Go” on the channel(s) needed, or by sending the “go”, “blue go” or “red go” command from the Command Window; or
- by running execMODS with the -e option, which will do only the Exec: block, e.g.
- execMODS –mods1 -e mods1obs.txt; and
- execMODS –mods2 -e mods2obs.txt
In case the preset is lost…
- Make a copy of the acquisition script with a different name, e.g. mods1acq_recover.txt.
- go into the directory from which the acquisition with modsAlign was done and cat the file mods1_lastoffset (mods2_lastoffset for MODS2). This file contains the last offset command: offsetxy dx dy rel for long-slit or offsetpointing dtheta dx dy detxy rel for MOS.
- Edit mods1acq_recover.txt to replace all of the contents of the Acquire: block with, on the first line, the contents of mods1_lastOffset and on the second, slitGO. The mods1acq_recover.txt script should have an Acquire block like:
Acquire: offsetxy -0.228 10.824 detxy rel SlitGO - acqMODS –mods1 mods1acq_recover.txt will then execute the preset, followed by the offset that was needed to the do the alignment the last time, and take a thru-slit image.
- acqBinoMODS mods1acq_recover.txt mods2acq_recover.txt will execute the binocular preset and take the pair of thru-slit MODS1 and MODS2 images.
- copy the observation script to a recovery obs script, e.g. cp mods1obs.txt mods1obs_recover.txt and adjust the exposure time and/or the nimgs as needed to complete the observation sequence.


