LMS Getting Started
Startup, Initialize, and Setup
The following will walk you through the steps for starting up LMS, Initializing the Mask, and Setting Up Telescope and Instrument Parameters.
Startup Skycat with LMS
In a terminal, Change to the LMS directory. To run, execute the lms.sh shell script in the bin directory. LUCI1 is the default or you can explicitly state which LUCI you are designing the mask for by including argument l1 or l2 to the end of the execution command:
./bin/lms.sh l1
for LUCI1 or for LUCI2:
./bin/lms.sh l2
The command will open Skycat with the LUCIFER plugin for LMS. (See troubleshooting tips if not).
Please Note: Currently there are no differences in how the software creates LUCI-1 and LUCI-2 masks (no differences in the scale values used). Any masks made for LUCI-1 will operate with LUCI-2 (and vice versa).
ProTip: Keep your terminal visible or refer to it periodically. Many useful hints and warnings will appear in your terminal rather than Popup Errors in SkyCat.
Get Image and Initialize Mask
An image is required to initialize the mask. Load a FITS frame and/or a catalog image. To load a fits image select from File -> Open…. and maneuver to the directory containing the desired fits image. A FITS file with appropriate world coordinate keywords (World Coordinate System WCS) in the header is required. WCS errors will propagate to mask generation.
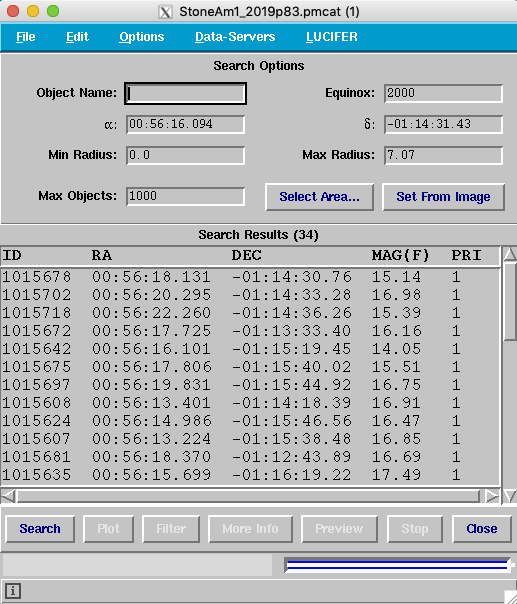
For this example we will load a DSS Infrared catalog image and overlay a local catalog later for slit selection. To load the catalog image, select the desired catalog from the “Image Services >” submenu or the “Data Servers” menu. Select the desired image server which will bring up a popup to enter the Search Parameters:

If no equinox is provided in the search than 2000 is assumed. If the image does not have accurate, up to date astrometry, then a catalog can be overlayed. Local catalogs are implemented as simple ASCII files in tab table format. This is the same format that is used to return query results from remote catalogs. The results of catalog queries are always returned in the format of a tab separated table of values. The column headings are separated from the data by a dashed line. An example uploaded formatted local catalog:

The columns necessary when using center slit or Auto-Slit are and identification column, RA, and Declination. If you would like to include priorities the Auto-Slit routine will take these into account. Additional formatting details can be found in the LMS handbook.
This is uploaded from the “Local Catalogs >” submenu. Once your catalog has been successfully uploaded an extended search options popup will appear with that targets contained in the image field of view. If the search results appear blank, confirm the uploaded catalog is correctly formatted and contains targets within the search radius displayed.
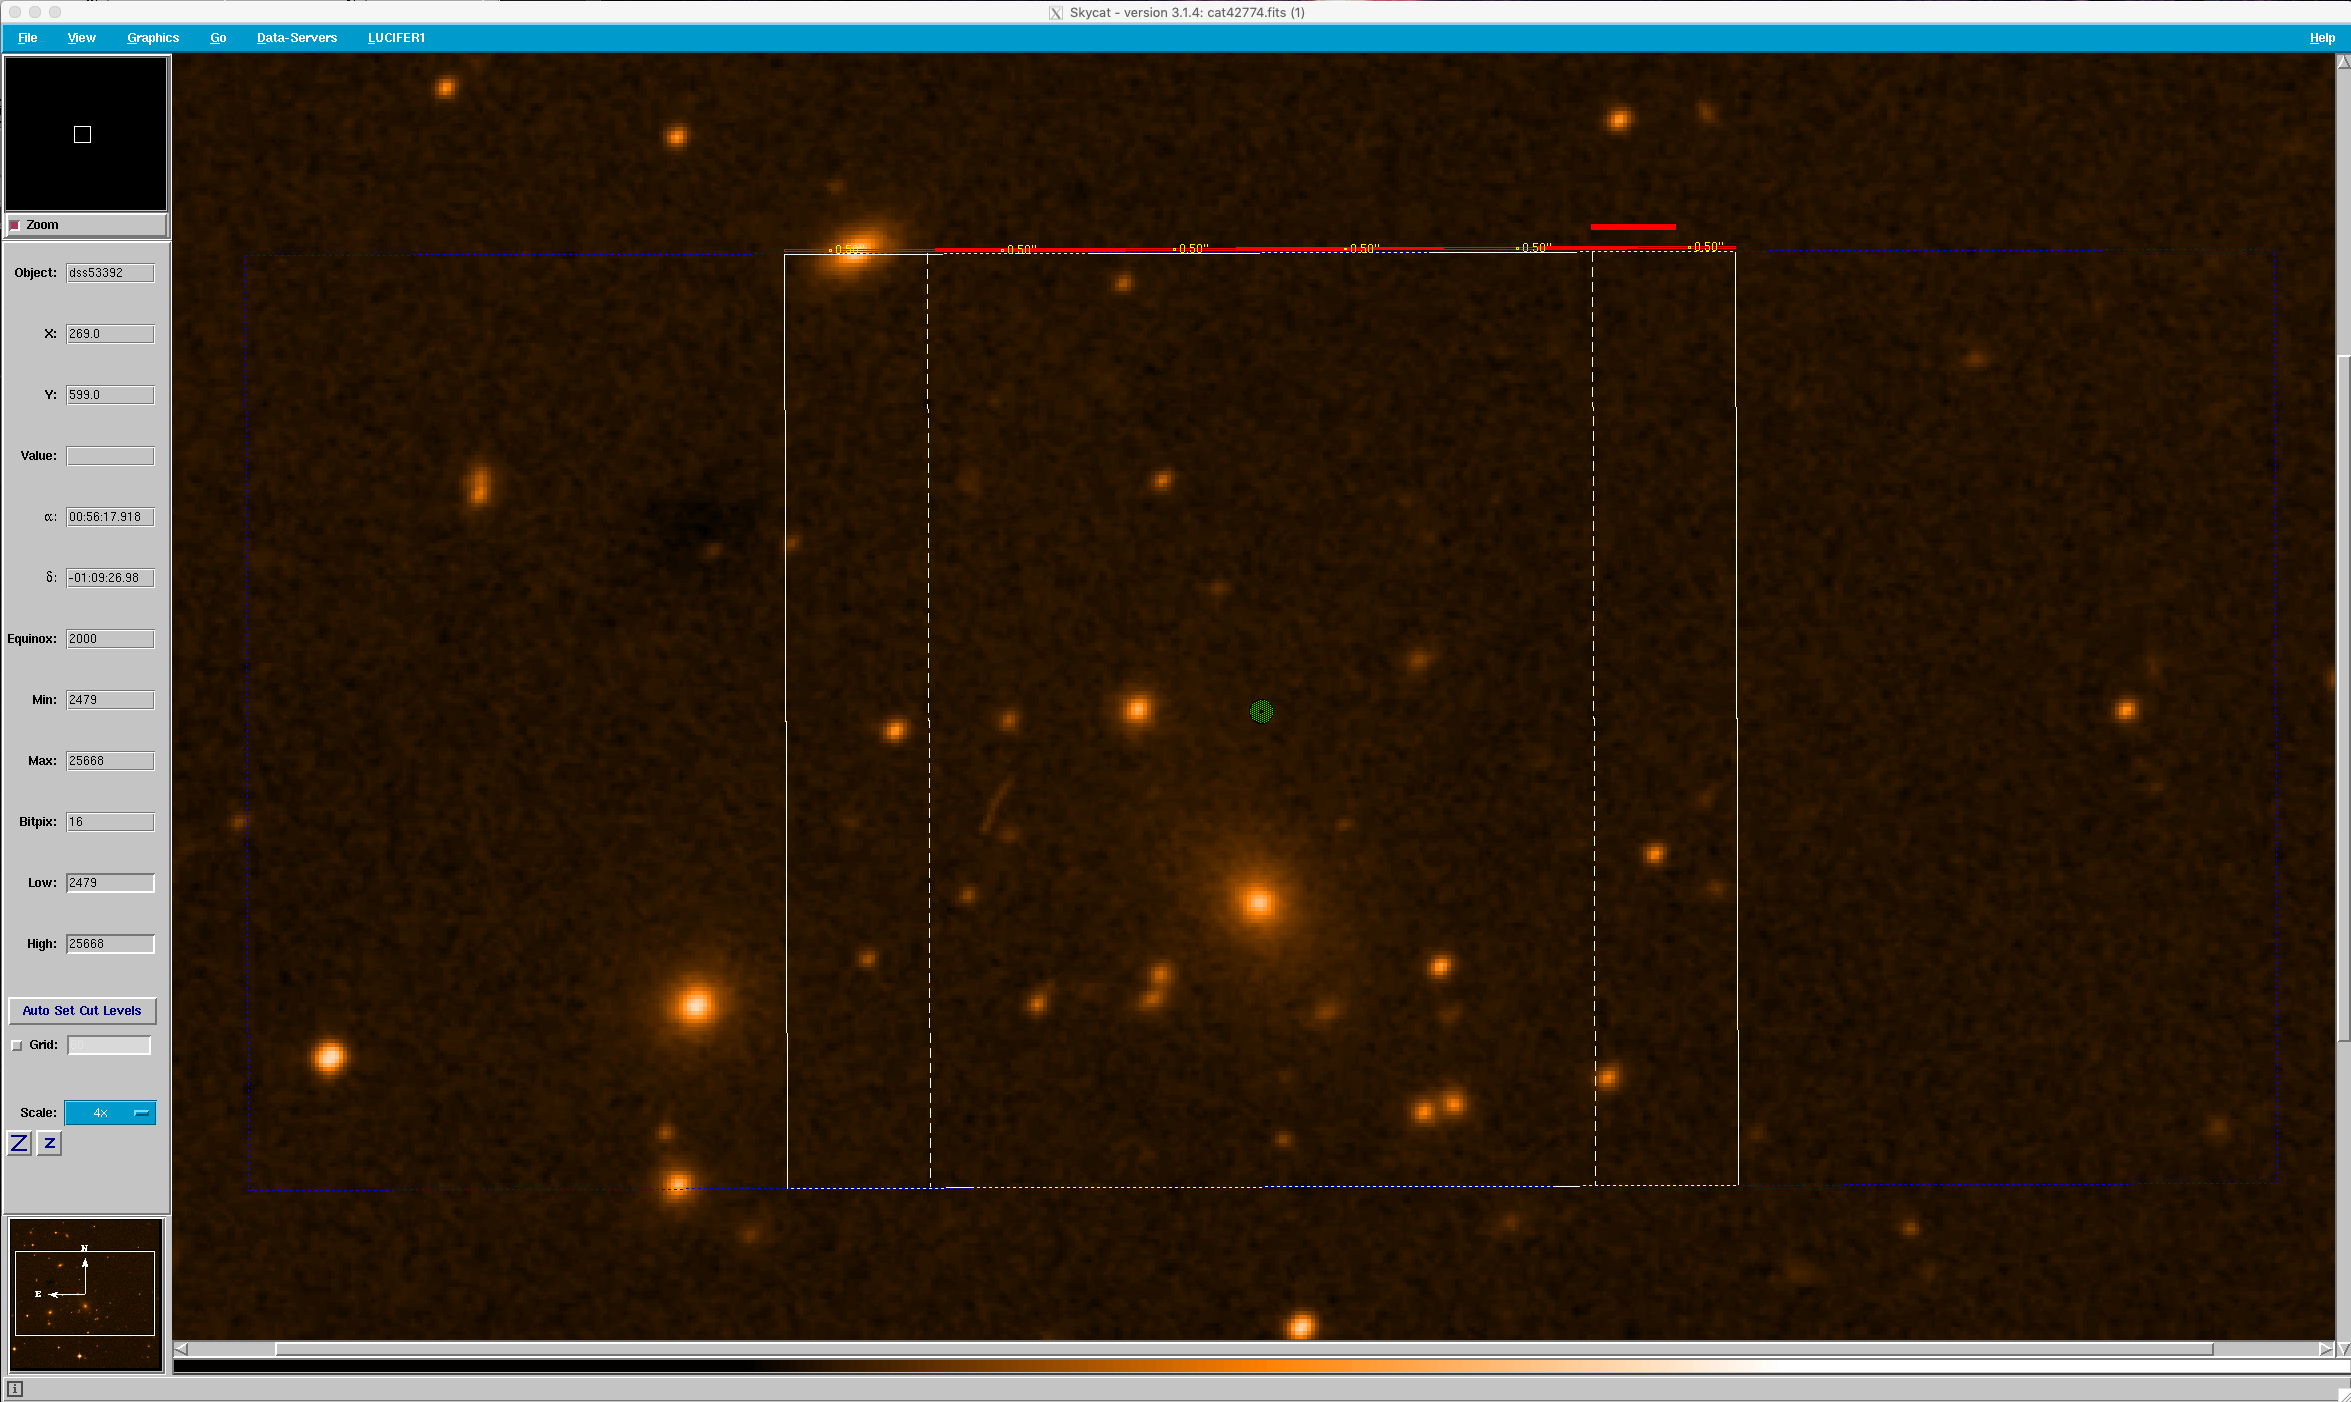
Once an image is uploaded, the mask can be initialized. From the “LUCIFER1″ or LUCIFER2” menu, select “Init Mask”. An empty mask overlay with the default instrument configurations (K filter, N1.8 Camera, PA=0) will appear.
Telescope & Instrument Setup:
The Instrument and Telescope Configuration Must be defined before slits are placed. When the central pointing or rotation are adjusted all slits generated will be deleted. Wavelength calculations are based only on the initial configuration and will not correctly updated if changes are made once slits are placed.
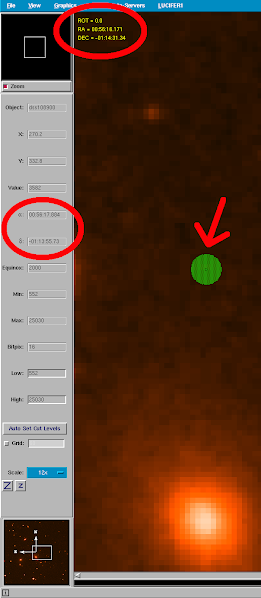
The central pointing and rotation and be adjusted with the green dot at the center of the mask outline. Click and drag the green dot to adjust the pointing, Central click on the green dot to change the Position Angle (default 5 degrees per click). The adjustments you make will be reflected in two areas as you go.
To adjust the rotation step size for each click, select the appropriate step size from the “Rotation Step >” submenu of the “Inst/Tel Config” menu.
When setting you central pointing and rotation, keep in mind the future steps: Are there suitable Guide stars, or would a flip of 180 degress provide more options. If planning on ESM or Argos operations, are there suitable AO ref stars in the central 2×2 arcmin (with an additional arcmin east). Keep issues like spectral clipping and reference boxes in the back of you mind.
Configure the Instrument. In the same”Inst/Tel Config” submenu configure the Camera, Filter, then Grating. There are allowed Filter-Grating combinations. Configuring the filter first will ensure that your grating selections are only allowable ones. Note that GRAT3 is a generic name that indicates either the G150 for LUCI1 or G040 for LUCI2.
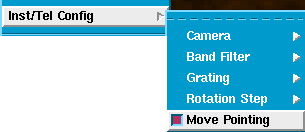
Move Pointing is a new addition that allows the user to freeze the current pointing and rotation, removing the green fiducial from the center of the mask during the remaining development steps. Toggle this off when you are happy with your set up to avoid accidental movements and to more easily allow slit placement/adjustment at the center of the mask. Shifts in the mask position will delete existing placed slits!
Set Project Name and Save
Once the telescope and Instrument are configured set the Project Name and Save! The project name is necessary for ingestion by the OT so its best to set this early. It can be changed at any point in the mask development. Select “Project Name” from the LUCIFER menu and a popup will appear where you can enter a name. Only the first 8 characters entered will be recognized.
Select “Save Luci” from the LUCIFER menu. This will go through a check for project name, guide stars, reference stars, and verification of slits. It is ok to have interim masks that fail these final criteria, but your final product submitted to LBT for cutting must pass these checks.

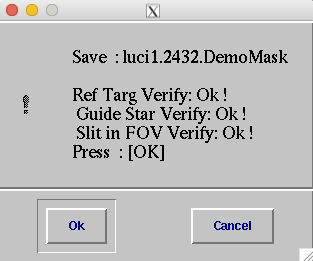
“Save Luci” saves an lms file (used for loading should you want to stop and pick this up later), gerber file (for mask cutting, which is more or less blank at this point), and an epsf for later viewing in the directory <HOME>/.lms/SET/ . A selected catalog will appear in the lms header.
ProTip: Open up a Status Panel to see the current configuration, as well as an overview of the last action. This is the last menu item in the LUCIFER menu and opens the following:
