LBC OT Examples
Example 1: Setting up LBC Science Observations using Library Templates
This example will demonstrate how to build an LBC Observation using the LBC Library Templates.
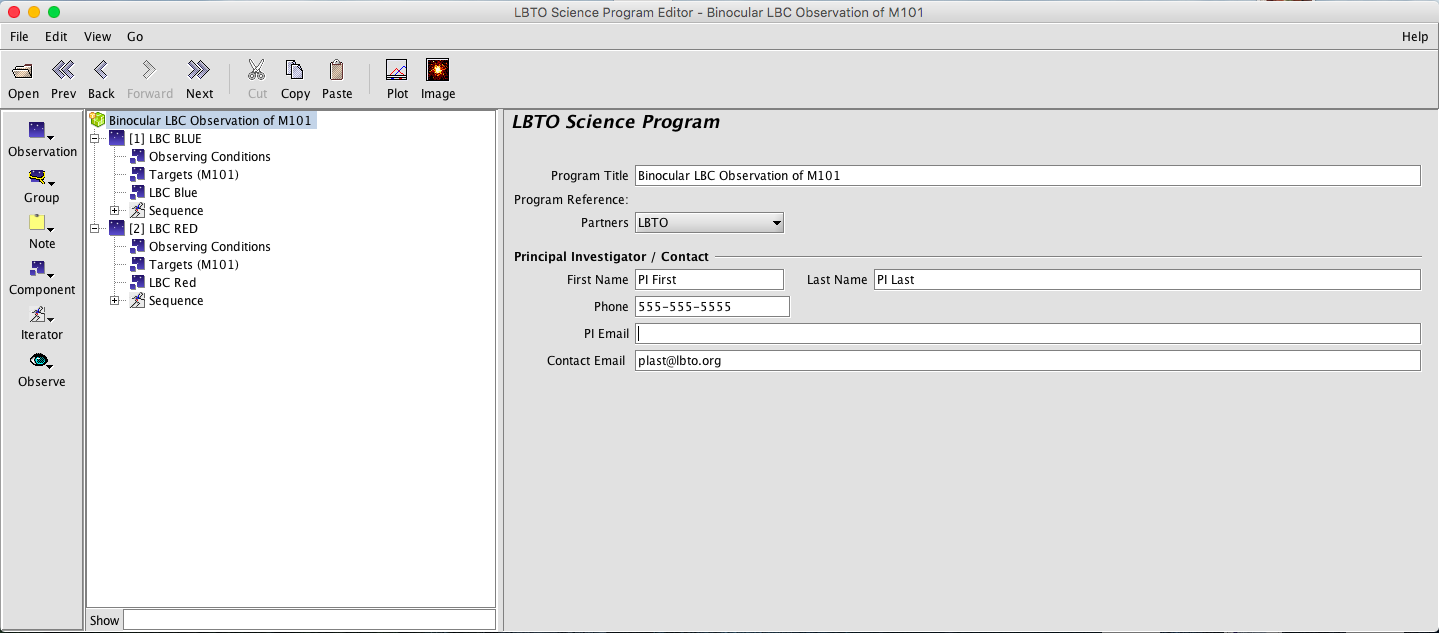
As with any example, start by opening a New Program. The new Science Program will open to the Main Program Node or Tab. It is here that you can fill out necessary information, such as your name, e-mail, and LBTO partner. Note: The “Program ID” field now replaces the “Program Reference” box as seen in the screenshot below. It is important that the Program ID is 13 characters or less, otherwise the PropID FITS header entry will be truncated.
Pro Tip 1: Some of this information may be critical to identifying your data for later retrieval from the archive, so do not overlook this section.
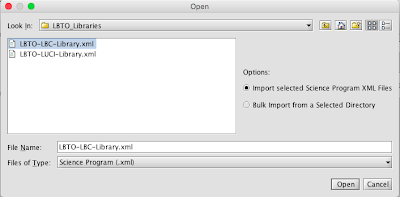
Once the Science Program/PI information has been filled out, import the LBC Science Library into the OT so that you can copy and paste already built templates into your Science Program. To import the library, ensure you have a copy of the the LBC Science Library saved to your local directory. Use the Main Menu to navigate to File –> Import xml. From there a dialog box will appear.
The LBC Library will open in a new OT window. Expand the LBC Observing Templates Folder and adjust the window so that the template names are visible.
There are two types science observational sequences observers can run with LBC:
- Complete full offset sequence before changing to the next filter.
- Cycle through each filter at every offset position.
These observations will yield different scripting results. If the entire dither pattern is completed for each filter, script generation will return one script that the observer will upload and run normally. If cycling through each filter at every position, script generation will create a script for each filter at every dither position. When observing the observer can then use the loop_observe.py script to automate the process of cycling through the generated scripts.
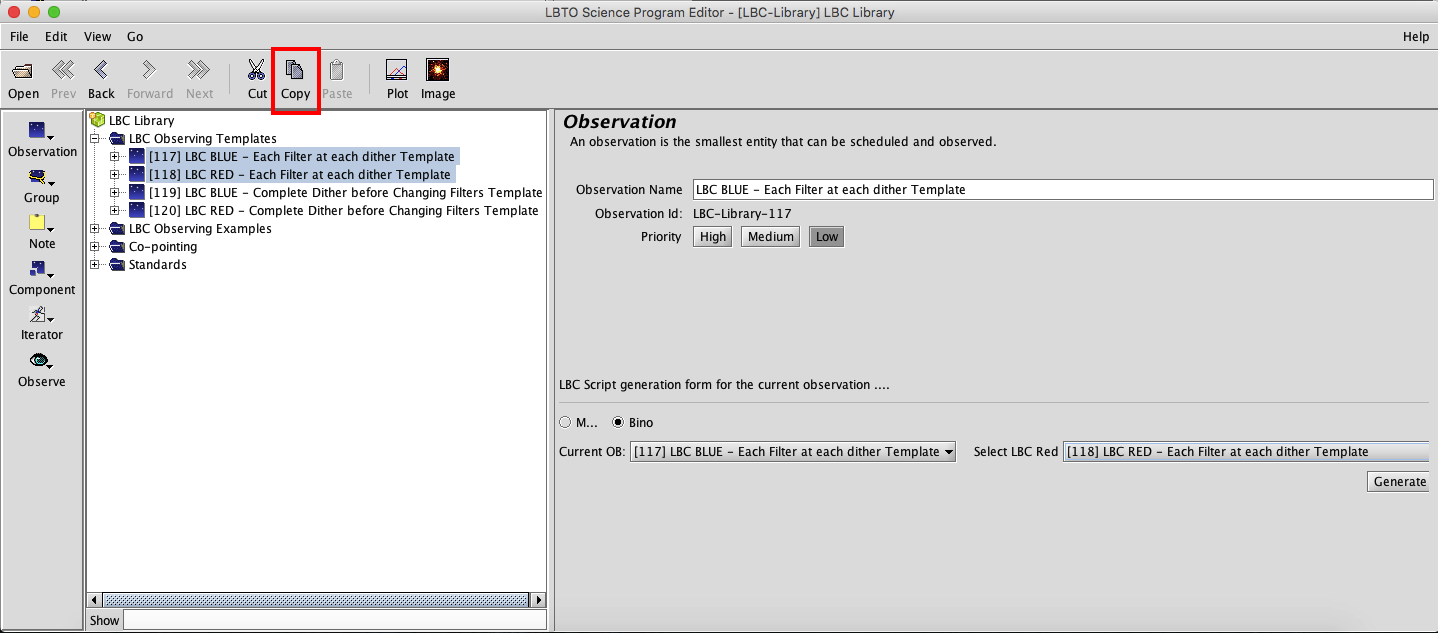
Select the Template(s) that most closely resembles the science observation you wish to generate. If creating a Binocular Observation, the same type of template will be needed for both LBC Red and Blue (ie both Observations will need to be of the type “Each Filter at each dither Template” or “Complete Dither before Changing Filters Template”. Highlight the Template and then click COPY in the Main Toolbar.
Back in the *empty* Science Program PASTE the observations by hitting PASTE in the Main Toolbar
Tailor the Template with you Observation details following the tree of the Observation in the Template:
- Observing Condition Element: Complete the information in the Observation Conditions Element by selecting the nodes that roughly align with what was requested in your TAC proposal. These conditions are not guaranteed conditions and are not passed to the script in any way.
Pro Tip 2: Since Observing conditions information is not passed along in the Observing Scripts, it is important to not only pass along your complete scripts but this complete OT Program as well to LBTO and the Partner Coordinator. Details for exporting the OT are available here.

If observing binocularly, copy and paste this tab between the two LBC Observations. To do this, with the Observing Conditions Element selected in the Observation select COPY in the Main Toolbar. Select the Observation Element of the complimentary LBC observation and PASTE. - Target Element: Enter Target. You may type a valid SIMBAD Target Name and hit enter; if recognized, the coordinate field, magnitudes, and proper motion will populate. Alternatively, you may manually type in your Target Name, Coordinates, Brightnesses, and Proper Motion.

If observing binocularly, copy and paste this tab between the two LBC Observations. To do this, with the Target Element selected in the Observation select COPY in the Main Toolbar. Select the Observation Element of the complimentary LBC observation and PASTE.Click on the Image button in the Main Toolbar to bring up the Position Editor. The Position Editor will allow you to visualize the Target, as well as the Science, Collimate, Focus, and Guide Field of View. The Offset pattern will also be overlaid. To bring up a default Catalog Image in the Position Editor, click on Image in the Toolbar in the Position Editor.

- LBC Instrument Element: This element will define the initial configuration of the instrument. Set the first filter, exposure time, and number of exposures for the initial instrument configuration filling in the fields and nodes.
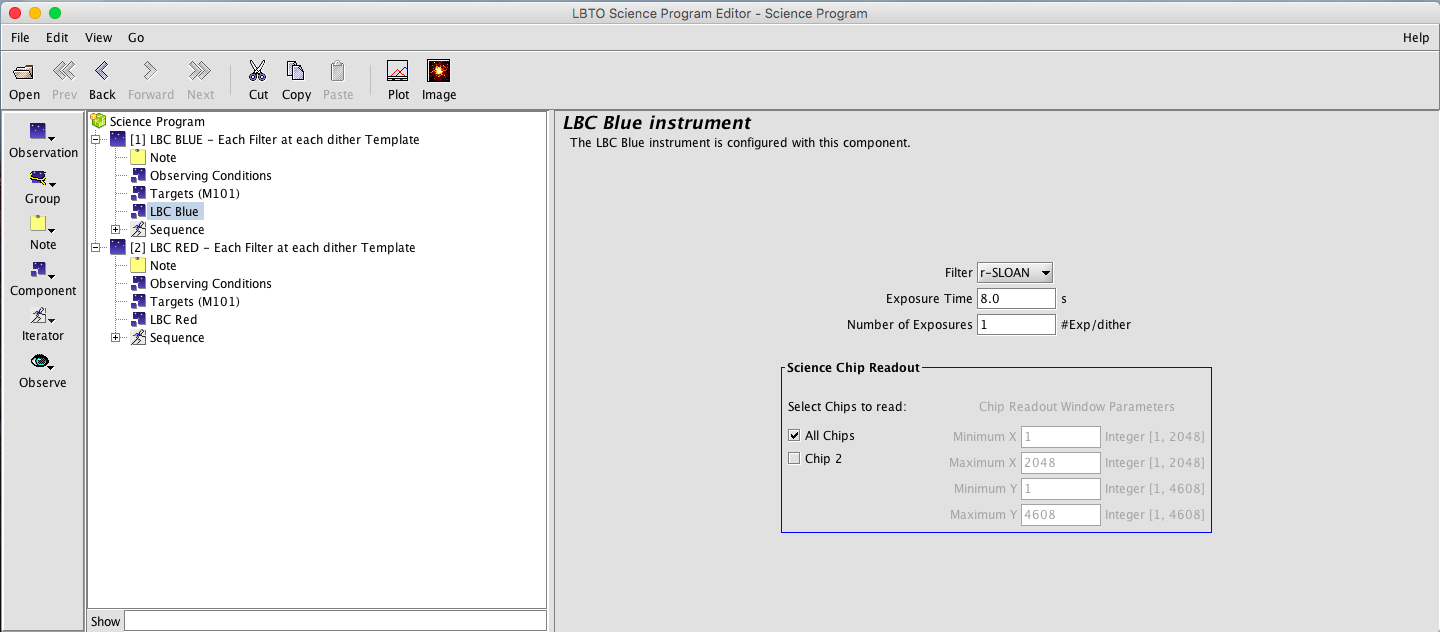 These can be adjusted for exposures beyond the first exposure in the sequence tab.
 - Sequence Element: The LBC Sequence is composed of 3 components: LBC Sequence Iterator, LBC Offset Iterator, and Observe Type. The order in which the LBC Sequence Iterator and LBC Offset Iterator define whether the filters cycle through at each offset position (Offset Iterator above Sequence Iterator in the Sequence Tree) or complete the dither before before moving to the next dither position (Sequence Iterator above the Offset Iterator in the Sequence Tree). Edit the Offset and Sequence Iterators.
- Edit LBC Offset Iterator:

Use the Iterator Action Items to add, remove, or move offset positions. Use the action item:

to remove all offsets from the template if desired. Add dither patterns using the Pattern Generators. If observing binocularly, copy and paste this tab between the two LBC Observation Sequences. To do this, with the Offset Iterator Element selected in the Observation select COPY in the Main Toolbar. Select the Component above in the Sequence of the complimentary LBC observation and PASTE. When building Binocular OB’s, the Script Generation will only take the Target and Offset Pattern from the “Current OB” selected when generating the script. - Edit LBC Sequence Iterator:

Edit the sequence of filters, exposure times and number of exposures. The item values default to those set in the LBC Instrument Element if not changed in the Sequence Iterator. For example, if the number of exposures is set to 4 in the LBC Instrument Element, it will be set to 4 for all filter and exposure time combinations even if the number of exposure item is not made visible in the Instrument configuration.
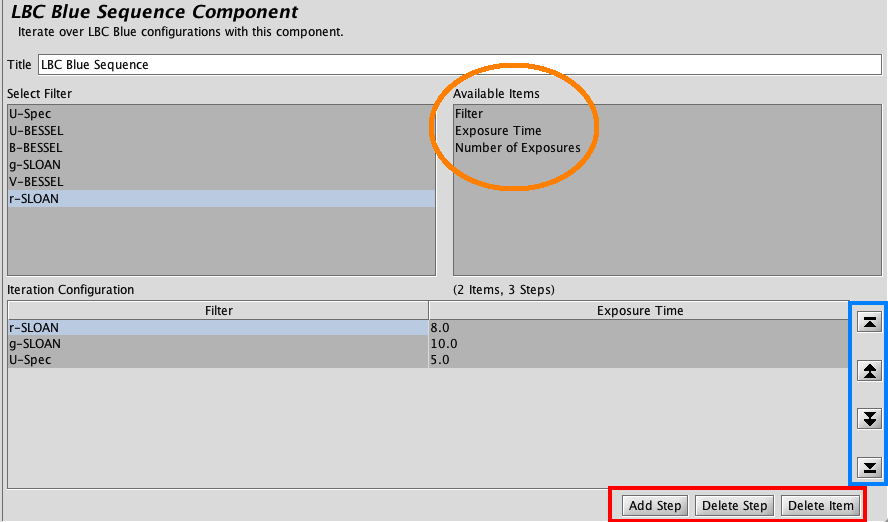
The Delete Step button can be used to remove any lines in the existing Iteration Configuration, and the Add Step button can add a new line to the Iteration Configuration. Clicking on items in the Available Items section will allow the user to alter that item in the Iteration Configuration (either highlighting that item in the Iteration Configuration or making it visible if not already), opening a menu or field to the left of that Available Items section. Details can be found at LBC Sequence Iterator. It is good to use the Position Editor to look at Guider and Focus Field of views and check that they contain suitable guide/focus stars respectively at each dither position.If Observing binocularly, set this tab for each LBC. If observing such that a dither cycle is completed prior to filter change (ie the Sequence is built with the Sequence Iterator above the Offset Iterator), then the number of items in the Sequence Iterator for both LBC Red and LBC Blue must match. - Observe Type: For Science Observations this will always be set to LBC Object, Class Science. For Standard Stars you may change the Class to Standard.
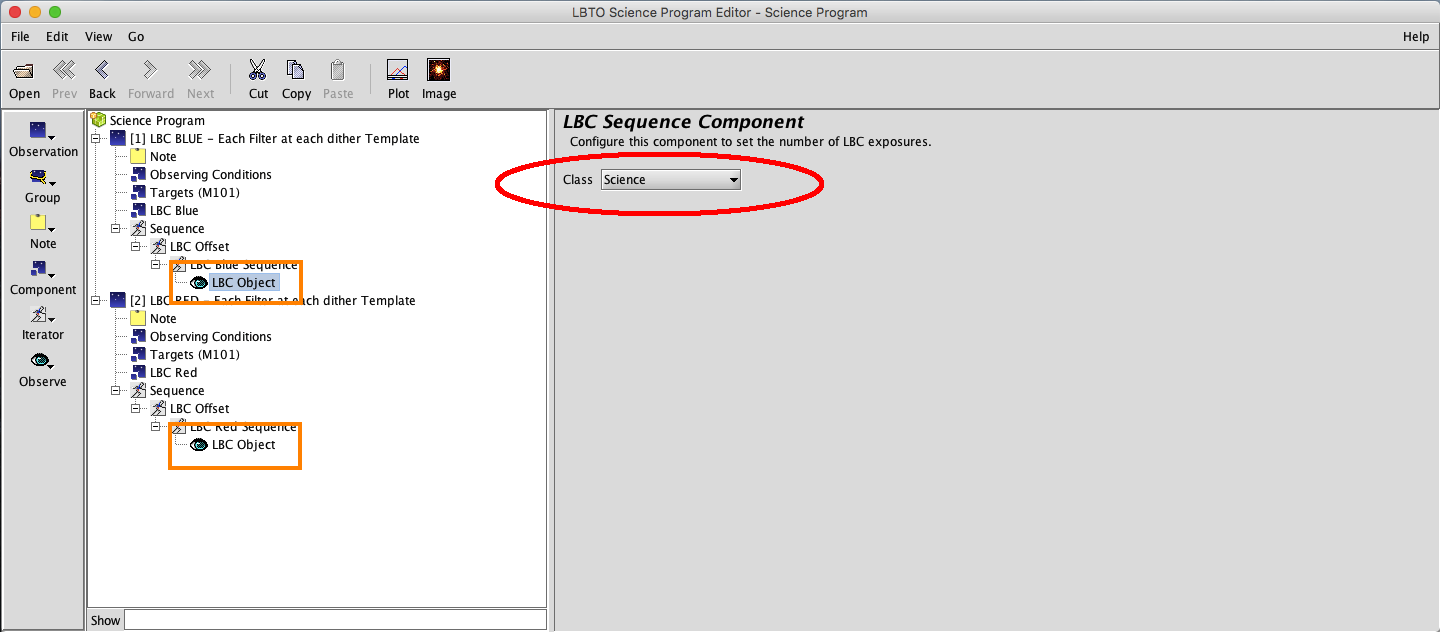
- Edit LBC Offset Iterator:
- Review and Generate Script: Once the above has been complete, the Sequence Element can be used to review Instrument and Telescope changes.

Instructions for generating a script from the observation are available here.
Example 2: Setting up LBC Co-Pointing Observation using Library Templates
This example will demonstrate how to build an LBC Co-Pointing Observation using the LBC Library Templates. Correcting the pointing and co-pointing immediately before and very near to your science observations will minimize the guiding corrections that would be necessary and produce better images. Unlike with the previous example, we will not be starting with a New Program but rather an existing Program. Co-Pointing Observations are an observational aid to optimize the pointing and co-pointing for the primary science target. Start by opening the Science Program that contains the binocular observation that requires the Co-pointing Observation.
Once the Science Program/PI information has been filled out, import the LBC Science Library into the OT so that you can copy and paste already built templates into your Science Program.
To import the library, ensure you have a copy of the the LBC Science Library saved to your local directory. Use the Main Menu to navigate to File –> Import xml. From there a dialog box will appear.

The LBC Library will open in a new OT window. Expand the Co-Pointing Folder.
Select both the “LBC Red Co-Point” and “LBC Blue Co-Point” Observations in the Library. Copy these observations by using the COPY button in the Main Toolbar. Paste these observations to the open Science program by selecting your Main Program node and selecting PASTE in the Main Toolbar.

The Co-Pointing Observations are 1 second exposures taken in V-Bessel (LBC Blue) and r-sloan (LBC Red) with chip2 readout and Observing Type of Acquisition. The only elements that will need to be changed in the Co-Pointing Observations are the Target and Observing Conditions. Do not the instrument configurations or offsets.
Criteria for co-pointing stars can be found here.
Complete the Target Element:
- Copy and paste the target component of the LBC Observation for which you are creating this co-pointing script into the Co-pointing template.To do this, with the Target Element selected in the Science OB select COPY in the Main Toolbar. Select the Observation Element of the co-pointing template LBC observation and PASTE.
- Click on the Image button in the Main Toolbar to bring up the Position Editor. The Position Editor will allow you to visualize the Target, as well as the Science, Collimate. In the position editor, activate the “Collimate” Field of View to see the region used for collimation. This region is located just below the “Target” which will be used as the co-pointing star at the field center/center of rotation.

- Do a search for NOMAD or UCAC catalog search. To bring up a default Catalog Image in the Position Editor, click on Image in the Toolbar in the Position Editor.Select an easily identifiable (isolated, 12.8 < R < 14.5) source with proper motion corrected coordinates as the “co-point” target that you preset to in the co-point OB. This target should be near your target and have quite a few stars below it, in the “Collimate” field of view.
- Once you have decided on the co-pointing star, click it in the position editor. It will highlight red and highlight the entry in the catalog.
You may manually transcribe this catalog entry into the “Target” in the Target Element.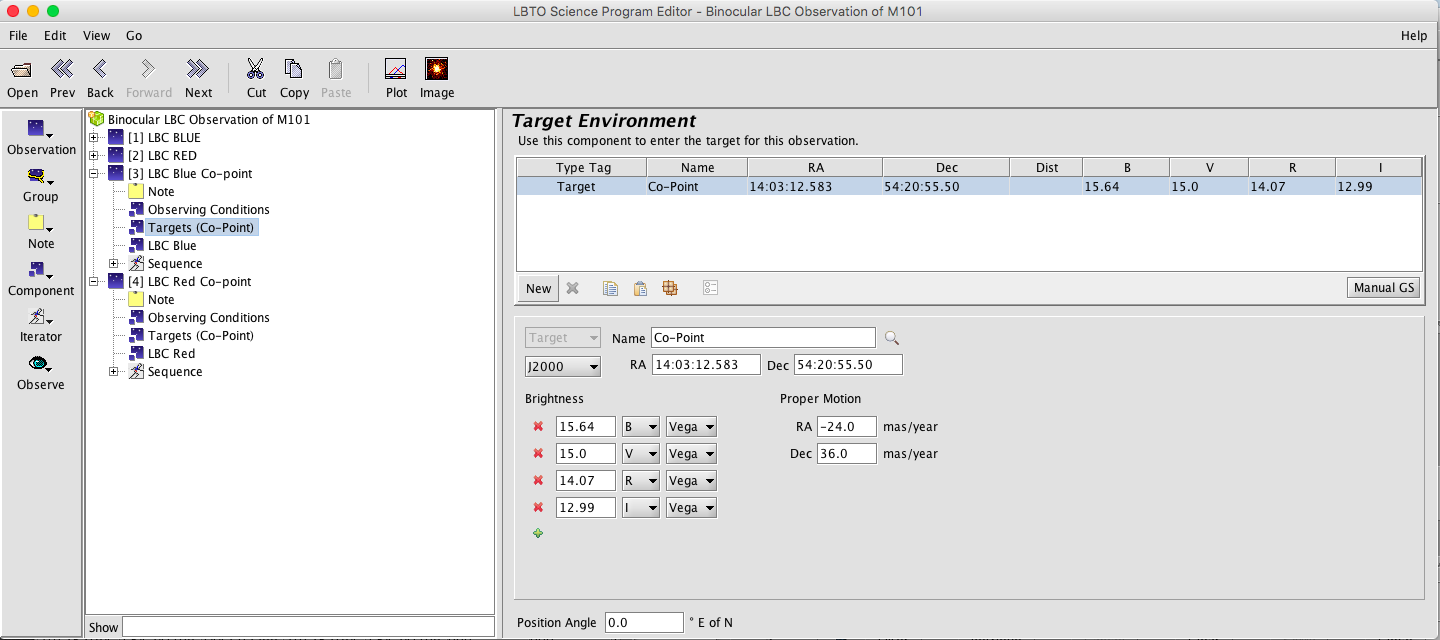
ORIf you select +User in the Left Sidebar, the catalog entry will populate as User (1) to the Target Element (NOTE: Currently there is a glitch that magnitudes and proper motions may not propagate properly to the target element). Copy this User(1) to the Target using the “Copy Selected Target Coordinates”. - Save finding chart. Then click File -> Save As and check “Save Current View” to save the image as a JPG. If you have a higher quality FITS image of your target (with accurate WCS) that you would prefer to use, then you can also open this in the OT. Note that when using the OT, the detector overlay provides scale, and the images are always oriented North is up and East is left. If you provide an image from another source, please ensure scale and orientation are stated.
Review and Generate Script. Instructions for generating a script from the observation are available here.


